The Bantam Tools Desktop CNC Milling Machine supports 1/4” tooling and comes with an ER-11 collet with a 1/4” diameter. When installing a new tool, you’ll need to go through the automated process in our Bantam Tools Milling Machine Software to measure the vertical distance between the tooltip and the collet, so that the machine knows where the tip of the tool is in space. This is called “locating” the tool.
Note: Nonconductive tools cannot be located automatically, so make sure your tool is conductive (HSS and carbide tools are; others may not be).
Follow these steps to install and locate a tool on your Bantam Tools Desktop CNC Milling Machine:
- Go to the file you’ve loaded into the Bantam Tools software and select the tool you’re going to use in the dropdown menu.
- While still in the Initial Setup tab, click Install Tool button. The spindle will move to the center of the Bantam Tools Desktop CNC Milling Machine.
- Loosen the collet nut about halfway using the collet wrenches or your hands. If there is a tool already installed from a previous job, remove it.
- Slide the tool (with 1/4” shank) into the collet all the way until it stops. Then back off ever so slightly.
- Use your fingers to tighten the collet nut with the tool inserted.
- Then use the collet wrenches that come with the machine to tighten the tool until it’s snug, but be careful not to over tighten it.
- Click Next, and the spindle will move to the default tool touch-off location at the front right corner of the bed. Confirm that nothing is blocking the tool, and then click Start.
Note: Alternatively, you can navigate to the Jog tab and click the install Tool button to launch this probing routine.
You’re done! The tool is installed and the software has located the tip of the tool in space. Once you’ve attached your material to the bed, set your material dimensions, and loaded a plan into the software, you can begin milling.
To remove a tool: Use the smaller collet wrench to hold the spindle in place while loosening the collet nut with the larger collet wrench. If possible, use your finger to hold onto the tool while loosening so that it doesn’t fall from the collet.
Installing a Collet
The collet that comes with your Bantam Tools Desktop CNC Milling Machine supports 1/4” tooling. However, if you’re going to use smaller tooling, you’ll need to use a collet that supports smaller tooling. To ensure accuracy and compatibility, we recommend using the ER-11 collet in our store.
To install the collet:
- Remove the collet nut from the bottom of the tool holder. Use the smaller wrench on the flat part of the tool holder to secure it in place, and then use the larger wrench to unscrew the nut.
- Remove the ER-11 collet from the collet nut.
- Insert the new ER-11 collet into the collet nut—you’ll hear it snap into place.
- Screw the collet and collet nut back onto the tool holder with two or three turns, or use the wrenches, if necessary. Remember, don’t fully tighten the nut without a tool inserted.
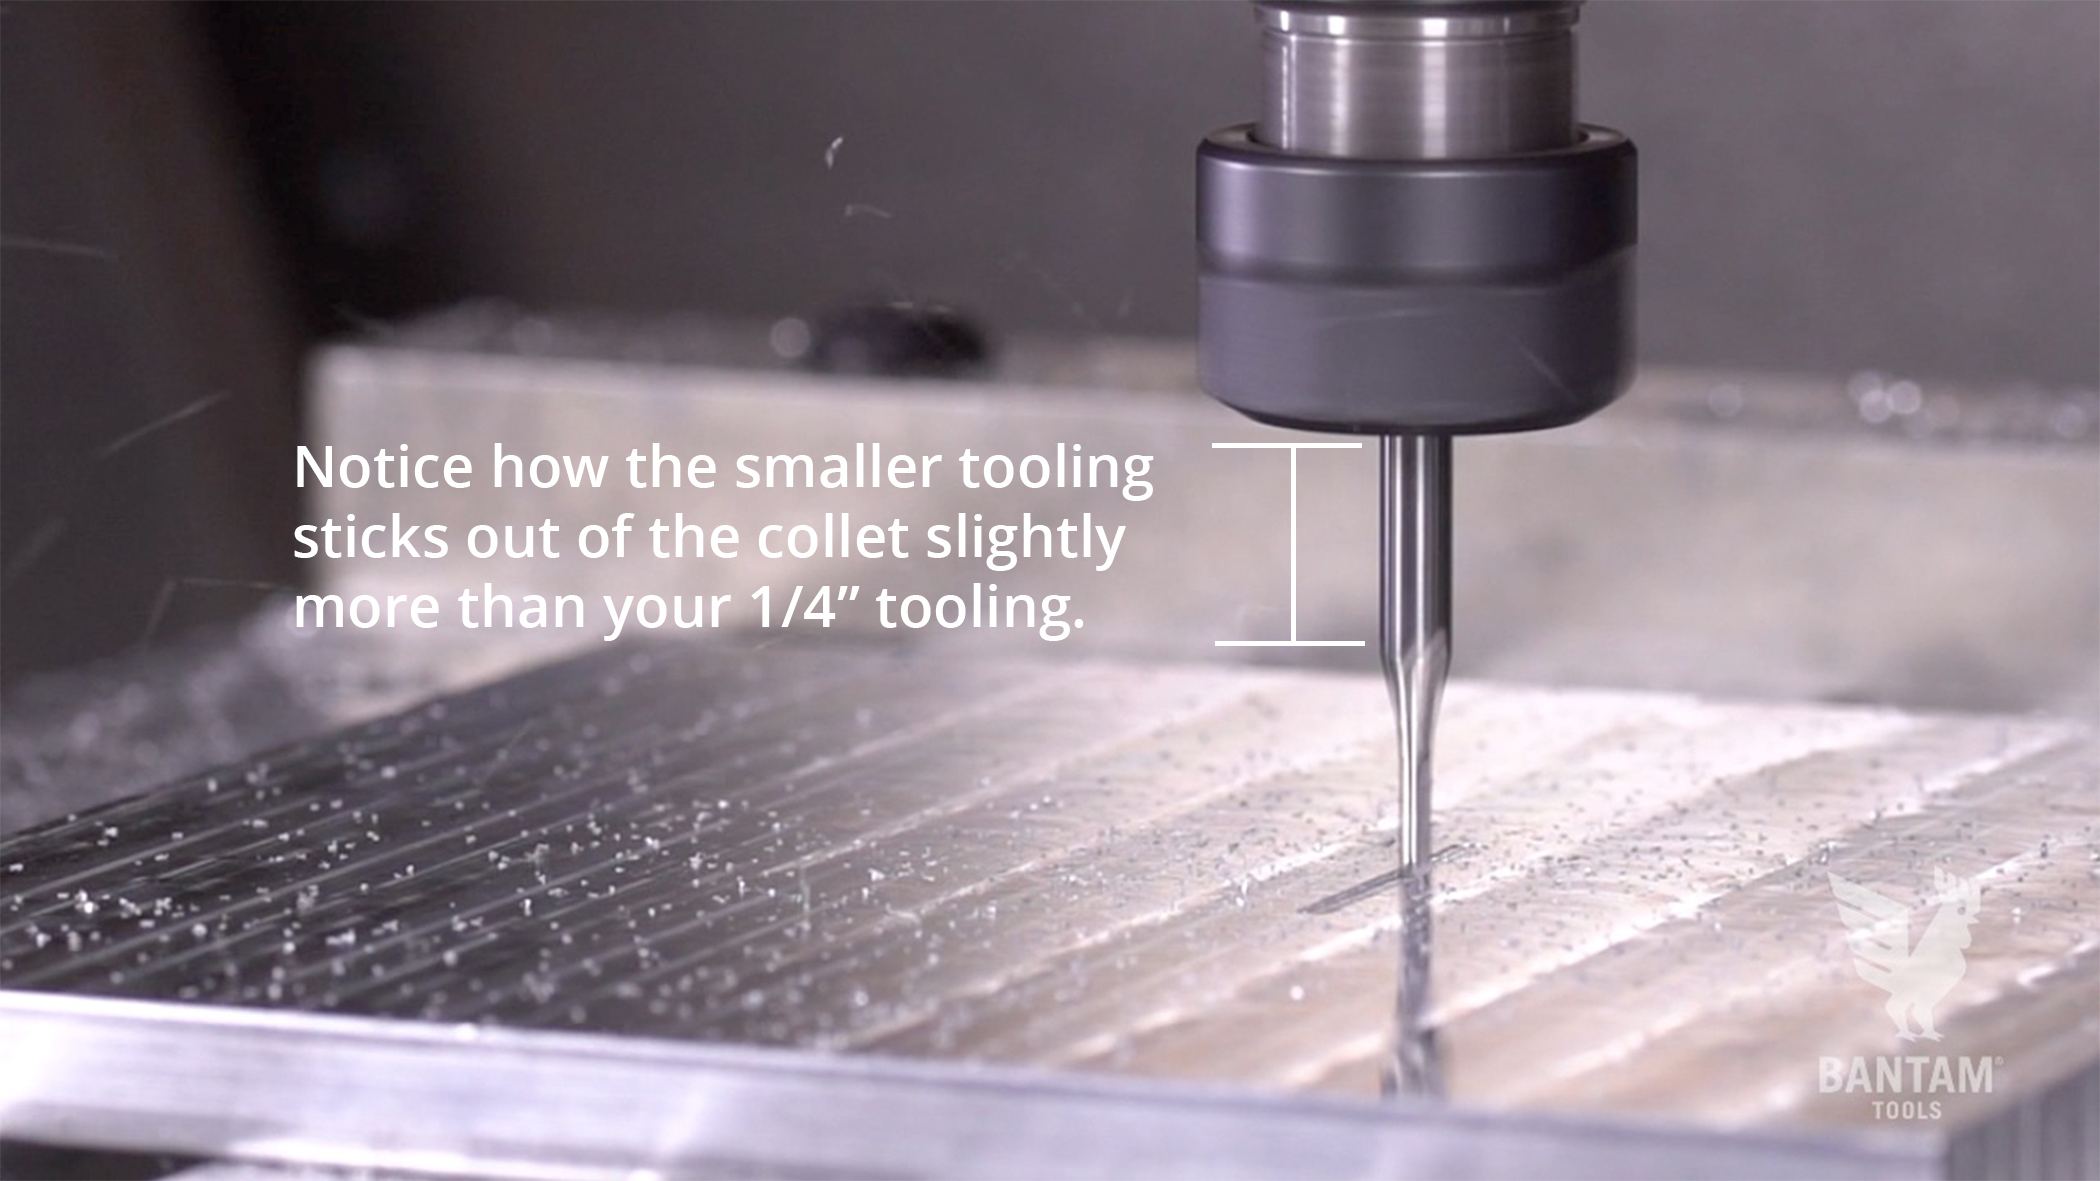
Tips for Inserting 1/8” and 6 mm Tooling
It’s important to note that some tools are longer than others, and tools can be inserted into the collet at different depths. The 1/4” tools that we stock typically have an overall length of 2”, whereas 1/8” tools typically have an overall length of 1.5.” Subsequently, most 1/8” tooling, when fully inserted into the collet––as we recommend for 1/4” tools—won’t reach the top of the bed to perform a successful tool touch-off if it’s inserted 3/4” into the collet. You’ll need to have the smaller tool stick out slightly more than your 1/4” tooling.